Saturday, April 25, 2015

Elegant DIY Dog Bowl

Several weeks ago I saw an elegant footed dog water bowl  on Pinterest and followed the link to Frontgate.com. Those bowls were no longer available but they had some similar starting at $39.95!! Way to rich for our blood! While we love our dogs, I'm not going to spend that, plus shipping on a water bowl. But, of course, I knew that I could probably make something similar. A quick trip to Walmart and for less than $10, Lizzie and Annie now have an elegant water bowl.

elevated dog bowl diy, dog bowl


The total cost was less than $10 and it looks so much better on our patio than the old sun bleached one, don't you think?

dog bowl, elevated dog bowl

Lizzie sure loves it!

dog bowl, elevated dog bowl


Not only is it elegant, but it is also elevated which is much better for our girls anyway! Small dogs are prone to bone and joint strain and an elevated bowl can improve their posture and help reduce the strain.

dog bowl, elevated dog bowl

I just love it when I can take a great idea and make it for so much less! Especially something that looks so elegant and is so useful.

Wishing everyone a wonderful weekend!

post signature

Tuesday, April 14, 2015

5 Minute Candle Creation

There is one thing that I firmly believe no room should be without and that's a candle. I'm just about positive that we have one in every room in our house! Everything from pillar to jar to tea lights - we've got them. The problem with inexpensive pillar candles (besides their complete lack of character) is that the wax runs everywhere and you can't really burn them without making a mess - especially the cheap ones from Wally World.

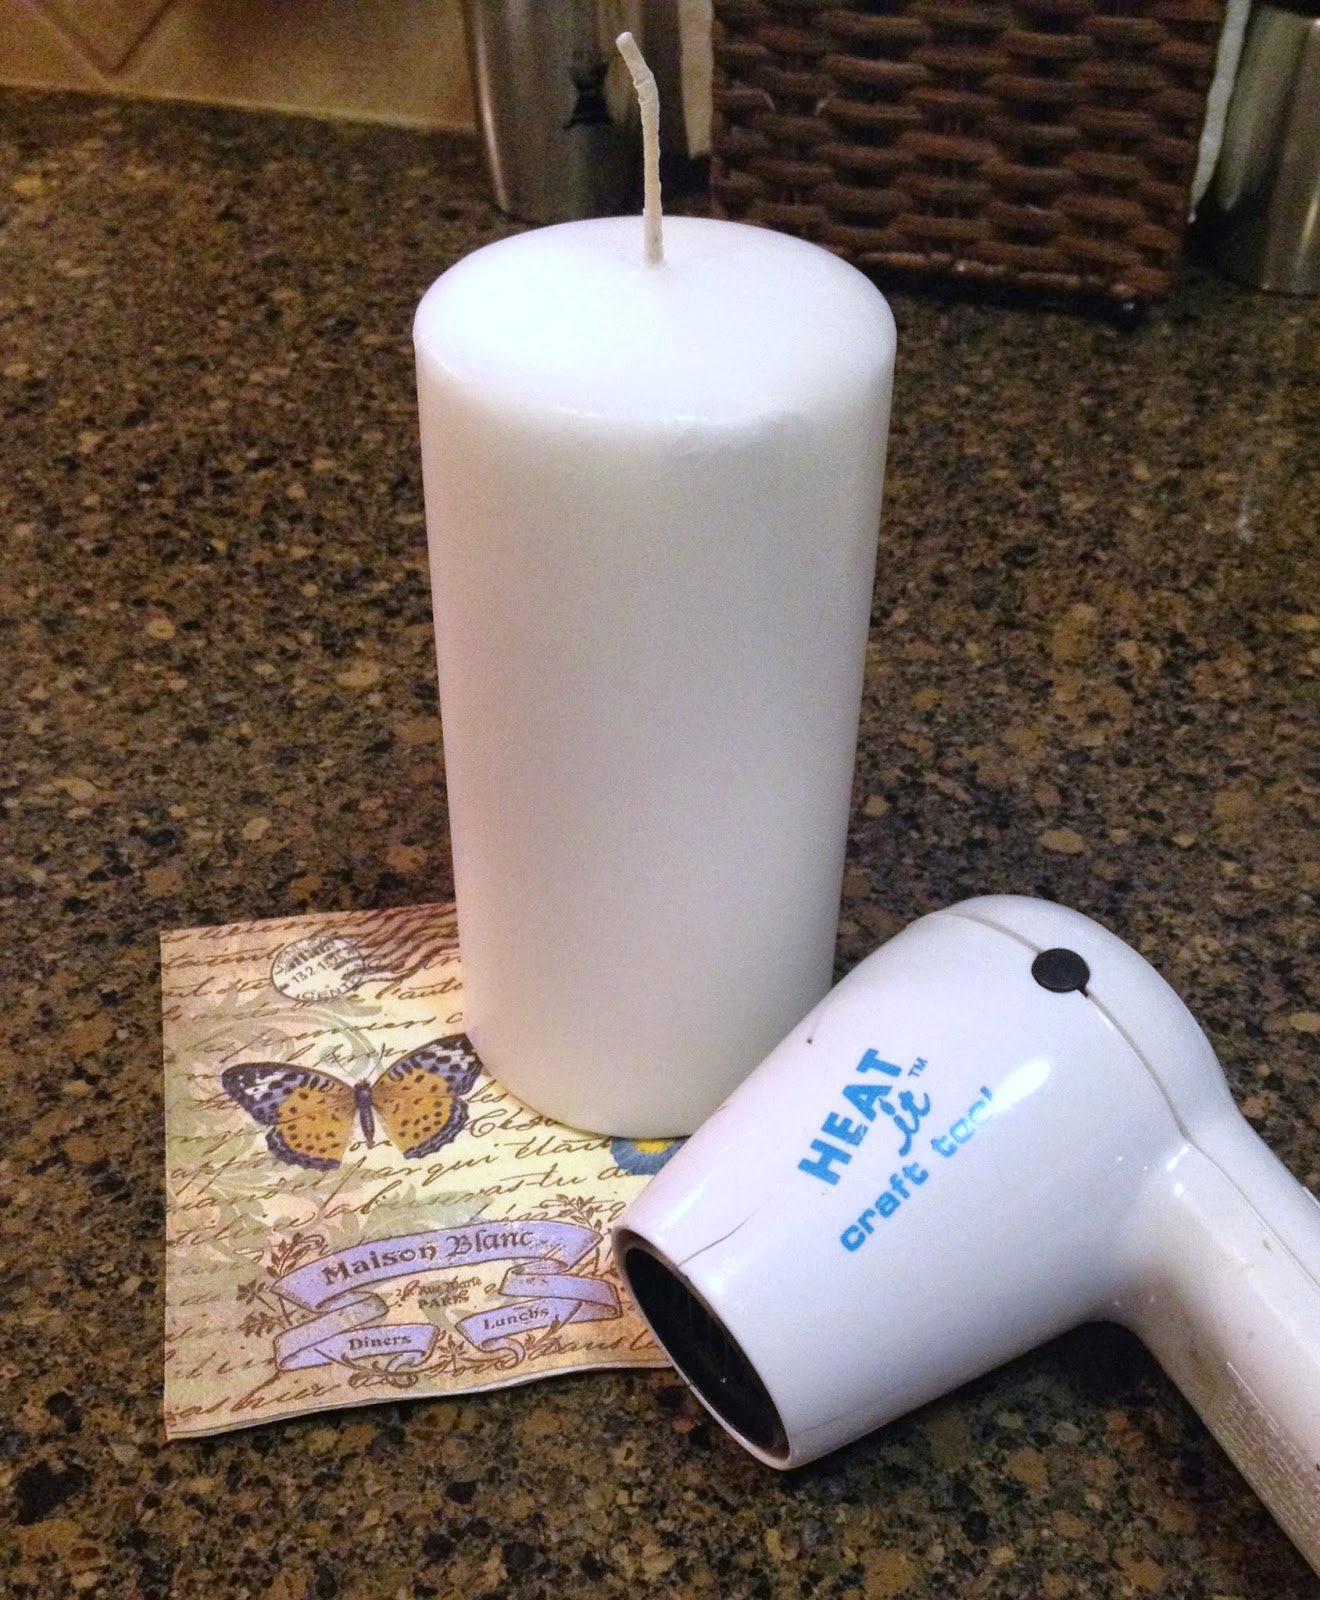
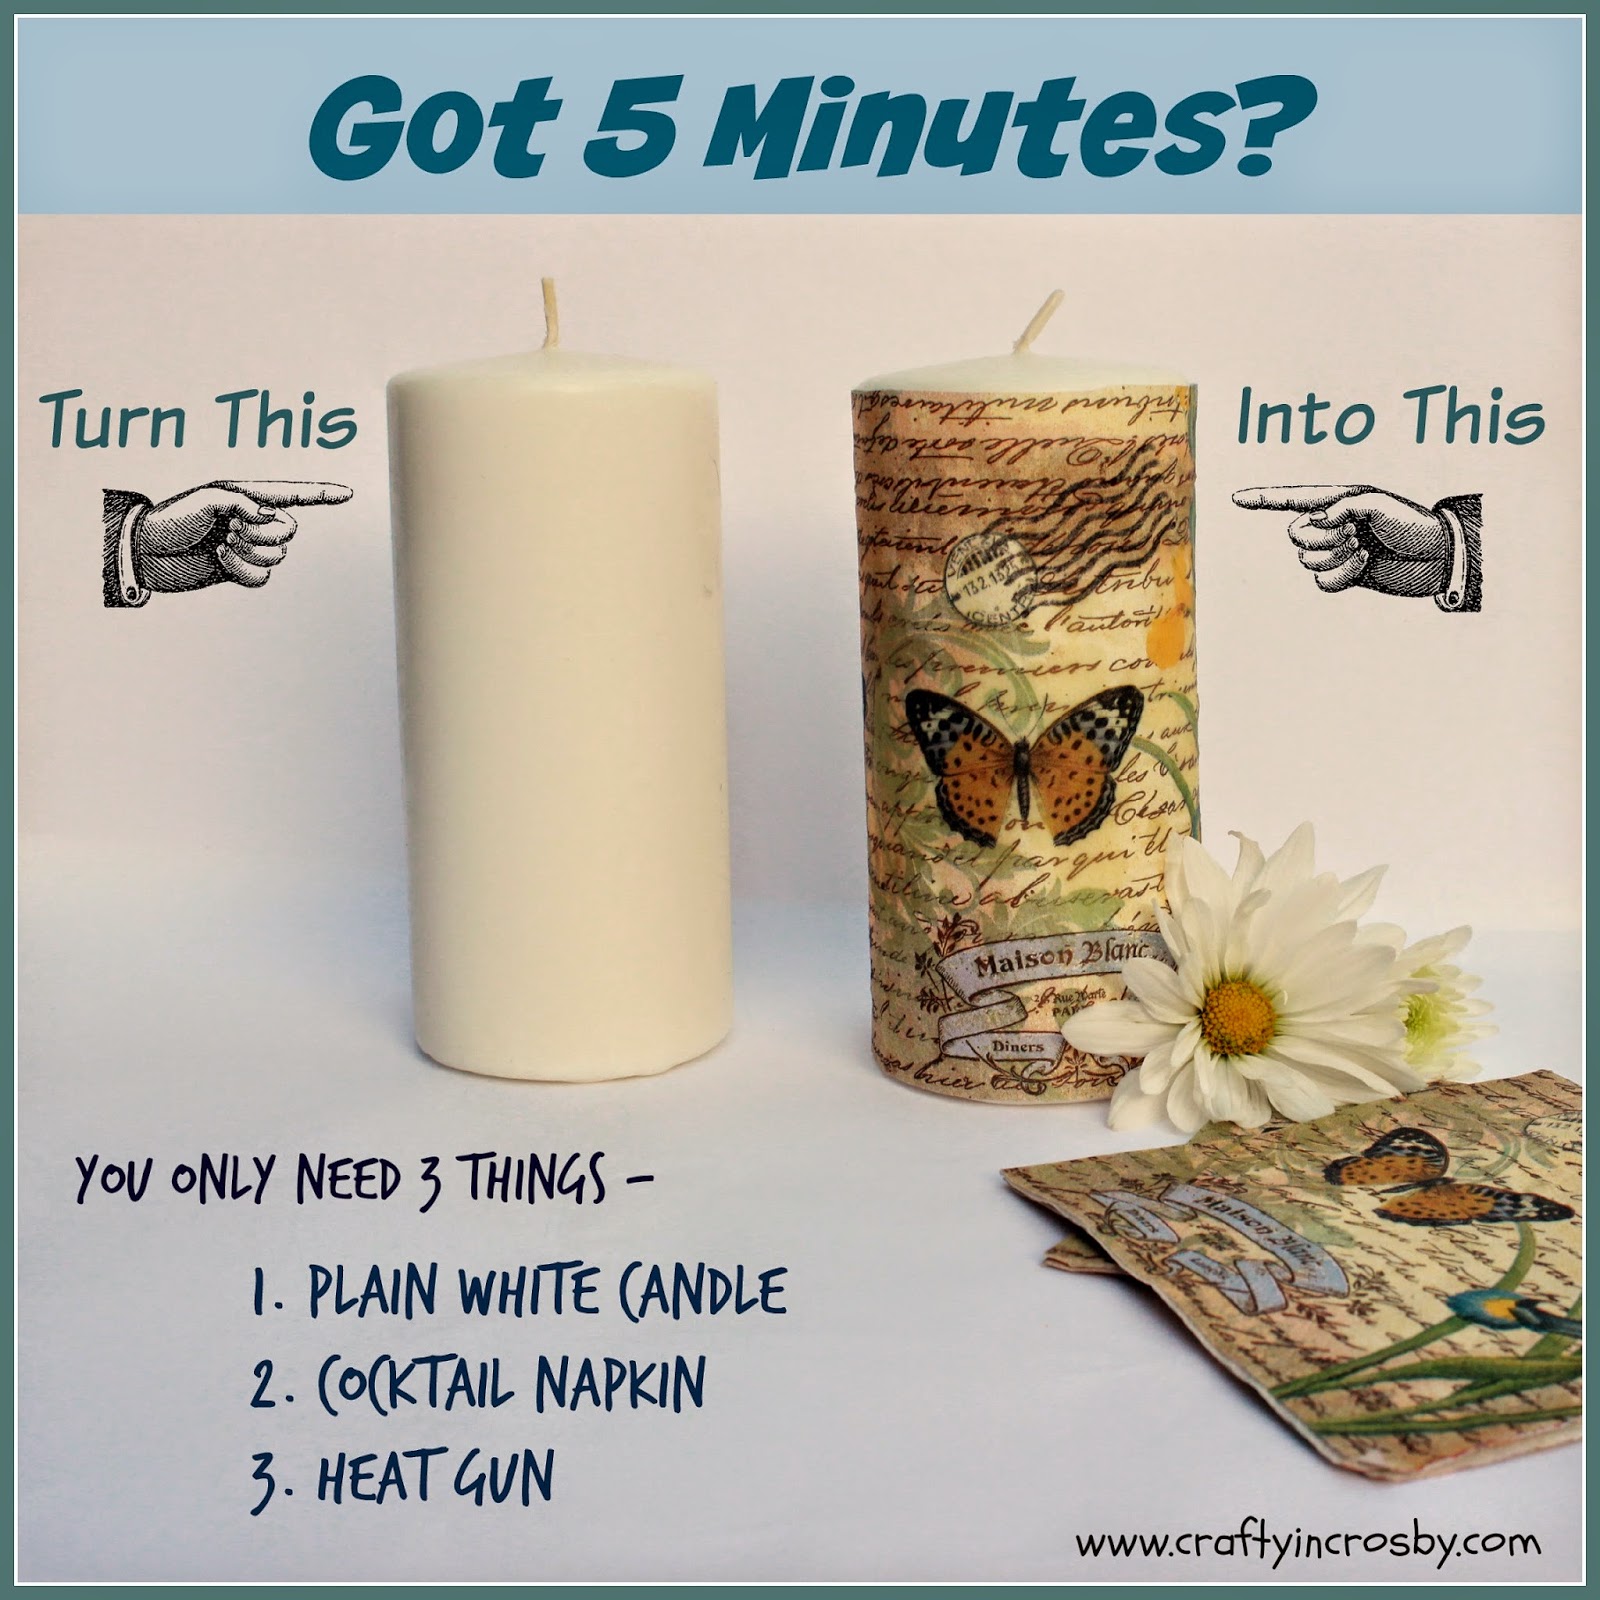
But we've got a super quick and easy way to make them look and burn like expensive designer candles! All it takes is a heat gun, cocktail napkin and a white candle.

candle diy, designer candle diy, candle hack, candle decoration, Dollar Tree

Simply open up the napkin and cut it to fit your candle. Some cocktail napkins have a loose inner liner and you might want to pull it off. These napkins came from Dollar Tree and the liner wouldn't come loose, so I left it alone.

candle diy, designer candle diy, candle hack, candle decoration, Dollar Tree

Then wrap the napkin around your candle and starting with the edge, use the heat gun to melt the wax to adhere the napkin to the candle. Use your fingers to smooth out the napkin as you work you way around the candle.


candle diy, designer candle diy, candle hack, candle decoration, Dollar Tree

In less than 5 minutes you will have a beautiful designer candle that won't run all over the place when you burn it!

candle diy, designer candle diy, candle hack, candle decoration, Dollar Tree
You can make these for any holiday or occasion - Christmas, Easter, birthdays, weddings, the list of possibilities is endless.

candle diy, designer candle diy, candle hack, candle decoration, Dollar Tree
Thought you might want to see one after it has burned for a bit. As you can see, the sides stay up and have a thin layer of wax on them. There were a few drips that came through the sides and I just used my finger to smooth them out so that you couldn't see them. 

Sorry for the poor cell phone photo quality!


Quick, easy and Cheap - 3 of my favorite things! You can't beat a 5 minute designer candle, now can you?

Wishing you all a Wonderful Week!


post signature

Thursday, April 9, 2015

How To Bake A Perfect Cake

Here's something you might not know about us - Leigh loves to cook and I love to bake sweets of any kind, but especially cakes! A cake, to me, has a always been an expression of love. I learned this from my Mom. She always shows her love to us by feeding everyone and is never happier than when she is cooking up a storm for the family. I have many fond memories of licking the beaters after watching her whip up something sweet for us! That's probably why I like baking so much - getting to lick the beaters!!

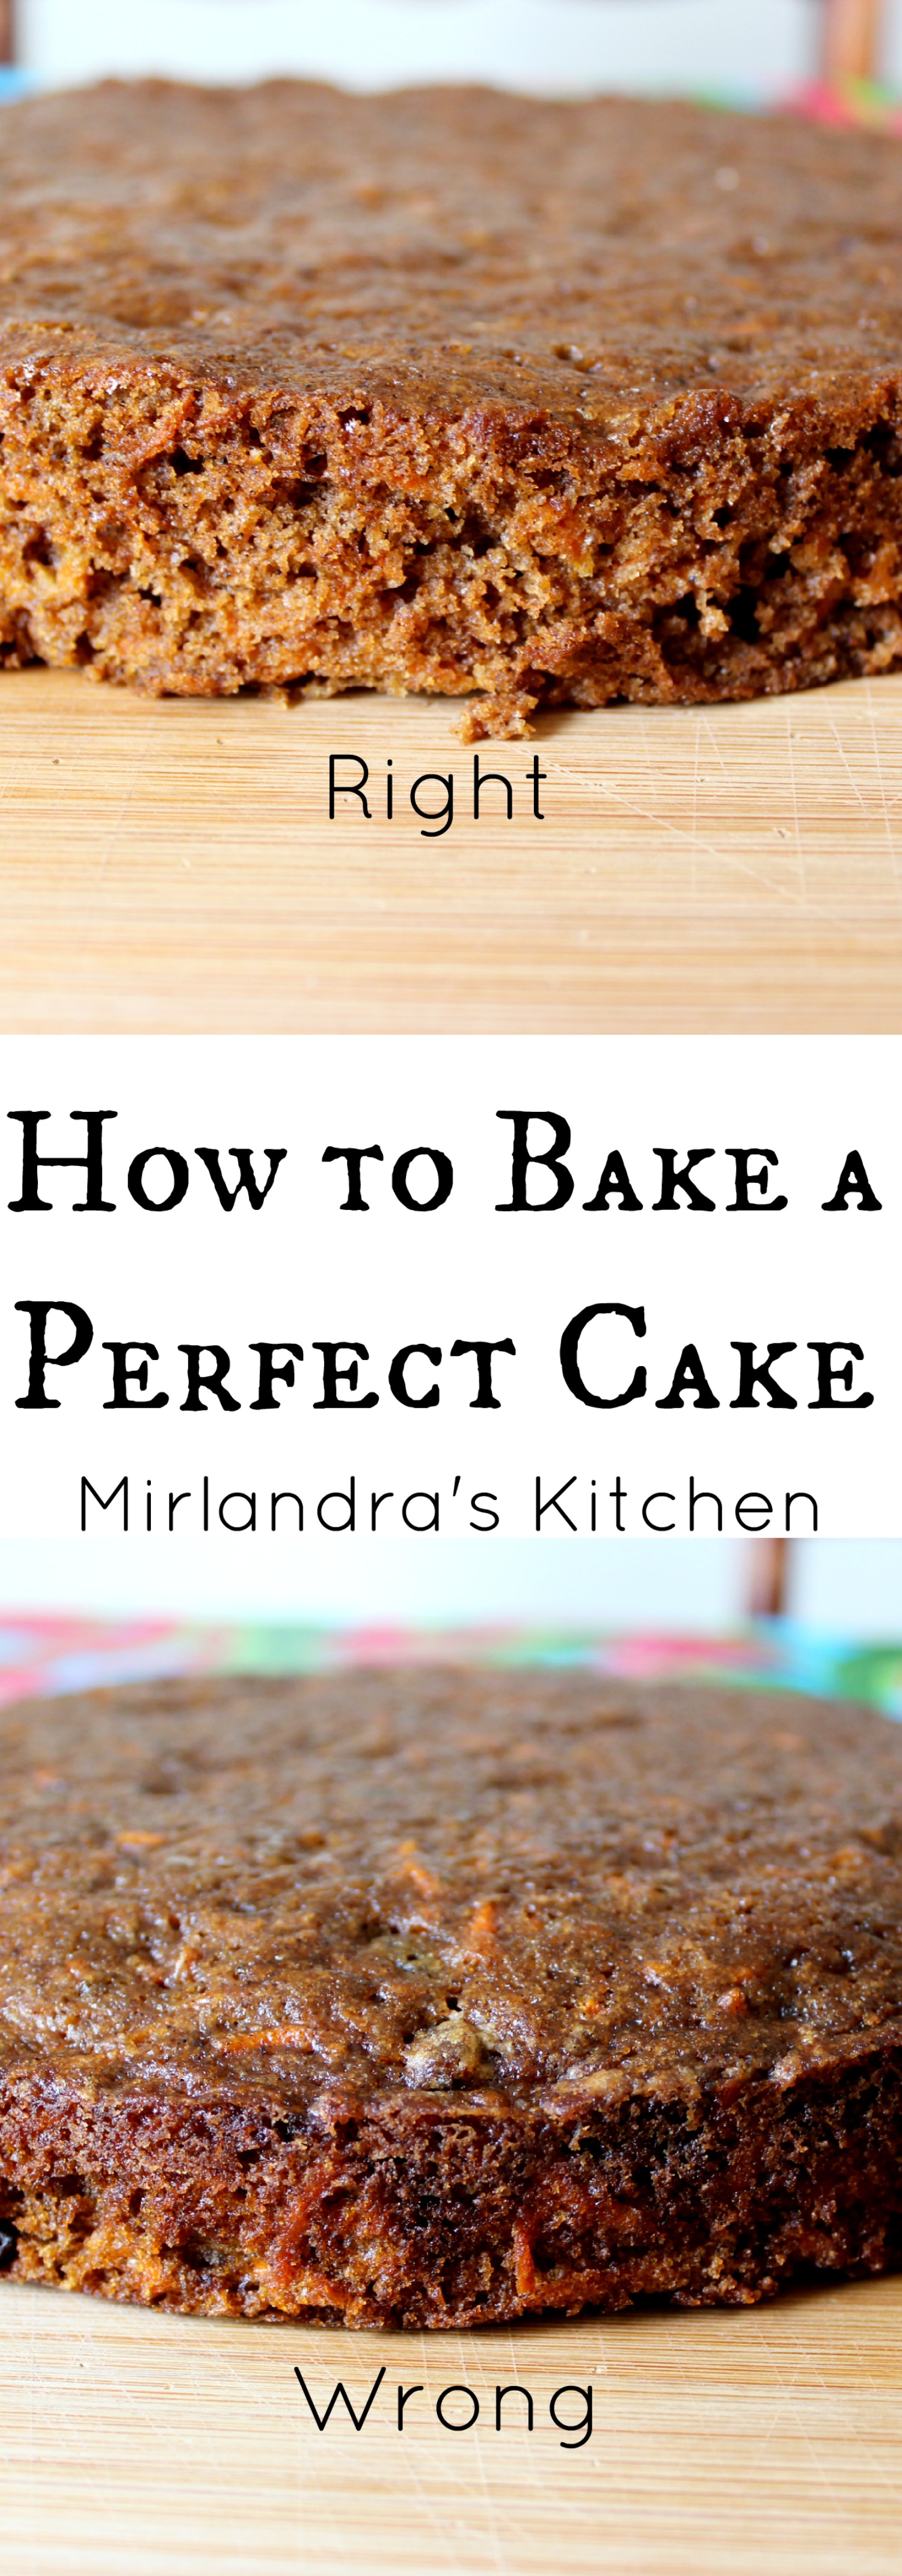
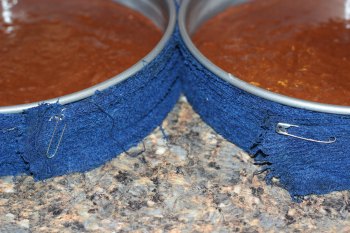
While I'm not a professional baker by any means, I'm not a complete novice. But I have to tell you, I had never heard of this trick before and can say with complete honesty that I will never bake another layer cake without using dampened towel strips!! Mirlandra of Mirlandra's Kitchen posted this wonderful How-To last October and I recently found it on Pinterest and used it on a cake I baked for Easter. The following two photos and recipe are courtesy of Mirlandra's Kitchen.


Here are Mirlandra's Instructions on How To Bake A Perfect Cake


How to Bake a Perfect Cake
Ingredients
  • wax paper or parchment paper
  • 1 old towel
  • two safety pins or paper clips
Instructions
  1. Line each pan with circles of wax or parchment paper. I like to place the pans on the paper, draw a circle, and then cut it out.
  2. Butter the sides of the pan generously. If the liner is trying to curl up, use a smear of butter to tack it down so that it will stay flat.
  3. Fill the cake pans with batter according to the recipe.
  4. Take an old towel that you don't care about anymore and cut it into strips that fit the height of the cake pans. If your cake pan is 2" tall you need a 2" wide strip of towel. Each strip needs to fit at least once around the pan once plus a few inches. If the towel is very thin and threadbare, cut 2-3 strips for each pan. If the towel is very thick, cut 1-2 strips. I use 2 strips of thin towel for my pans.
  5. Get the towel strips sopping wet in the sink and then squeeze them until they are wet but not dripping everywhere .
  6. Wrap one towel strip around the pan until the ends overlap. Start the second strip on top of the exposed end of the first. Wrap it around the bottom strip. Secure the strips with a safety pin or paperclip.
  7. Bake the cake as directed in the recipe. When the cake is 3-5 minutes from being done, remove the towel strips and put the cake back in the oven. This allows the edge of the cake to finish baking. If you do not do this, the edge will remain so moist that the frosting will fall off.
  8. You can hand wash your towel strips and use them over and over again for many years.
  9. Let your cakes rest according to the directions in the recipe. When it is time to remove the cake to the rack, loosen the sides with a silicone spatula. Use a plate or flat platter to flip the cake over unto its top. Thump the bottom of the pan once or twice and the cake should fall out of the pan. Lining the pan allows the cake to release easily and prevents most broken cakes.
  10. Put the cake (rack and all) in a clean, unscented trash bag to finish cooling. This will help the cake remain moist throughout the cool down process.


We made a delicious Easter M&M Ice Cream Cake with a recipe I found on The Gunny Sack. Tonia from The Gunny Sack, states in the instructions, to let the layers cool and use a large serrated knife to cut off the domes. But let me tell you, with this trick, the layers will turn out perfectly flat and with a beautiful edge. The layers were baked in spring form pans and the towel strips worked perfectly.  

I didn't take pictures of the cake I baked during the process, but did take a quick shot after it was cut (and partially eaten!!)  Never in my life have I baked such beautifully flat layers - if only I could have gotten them even, but hey, they were nice and flat! Next time, I'll work on even!


I can't thank Mirlandra enough for this life changing tip! I've been singing her praises for days now and can't wait to bake another cake! Take a minute to visit her over at Mirlandra's Kitchen and check out some of her amazing recipes. I can't wait to try out her Oatmeal Cookies with Chocolate Frosting! I think I've gained about 5 lbs while just reading the recipe!!

Have you found a life changing tip on Pinterest or your favorite blog? We would love to hear about it. Leave us a comment and let us know your favorite tip.

Hope the rest of your week is wonderful!


post signature

Saturday, April 4, 2015

Easy Last Minute Easter Treats

We are hosting our family Easter dinner on Sunday and I wanted to have a little something for everyone. After going through our Easter Pinterest Board, Leigh and I decided on Bunnies in a Jar and Bunny Poop! Something for the Young and the Less Young!!

Easy Easter DIY, Easter Treats, Bunny Poop, Bunnies in a Jar, edible Easter grass, chocolate bunny, jelly beans

We made enough of the Bunnies in the Jar to use at every place setting and made the Bunny Poop treats for the boys. What little boy wouldn't love to have Bunny Poop? I know that my 4 and 5 year old nephews will!

Easy Easter DIY, Easter Treats, Bunny Poop, Bunnies in a Jar, edible Easter grass, chocolate bunny, jelly beans.

I wanted to use the snack size bags but came home with ones that had printed markings on them, so we made do with full size sandwich bags. We folded the printable over and "sandwiched" (no pun intended!) the bag in between. The ribbon is threaded through 2 small holes that were punched through both layers of cardstock and the sandwich bag.

Save these to your computer and make some Bunny Poop Treats for your crew!

Easy Easter DIY, Easter Treats, Bunny Poop, Bunnies in a Jar, edible Easter grass, chocolate bunny, jelly beans

Easy Easter DIY, Easter Treats, Bunny Poop, Bunnies in a Jar, edible Easter grass, chocolate bunny, jelly beans


Easy Easter DIY, Easter Treats, Bunny Poop, Bunnies in a Jar, edible Easter grass, chocolate bunny, jelly beans


I really love the Bunnies in the jars - country elegance and will look great on the dinner table. You will need edible Easter grass (found ours at Walmart and Walgreens), small chocolate bunnies, malted milk eggs, mason jar, jar lid insert and ribbon or baker's twine.

I used kitchen shears to cut the grass into small pieces.


Place the bunnie in the jar with 2 malted milk eggs in front and 
2 behind (will keep it from leaning too bad).


Here is a sheet of inserts in case you want to make your own - 

mason jar lid,  inserts, Easter Mason Jars, Hoppy Easter, Easter DIY


Super quick and easy! Can't wait for everyone to see what the Easter Bunny brought for them!

Wishing you all a blessed Easter!


post signature

Friday, April 3, 2015

Easter Chalkboard Printable

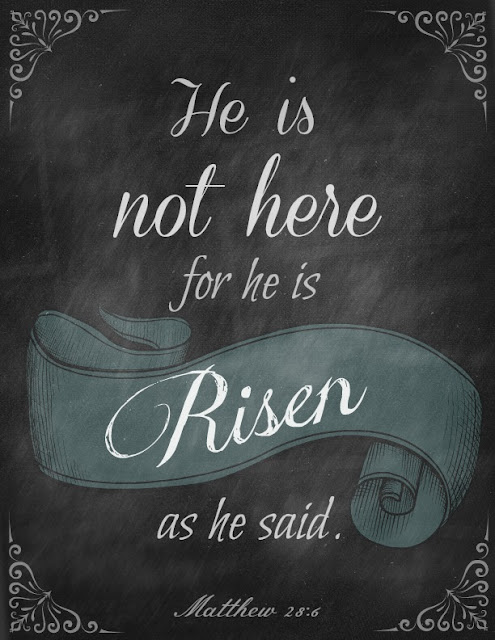
As we are busy getting ready to host our family's Easter celebration, I thought I would share last year's chalkboard printable with everyone. 

Wishing all of you a very Blessed Easter!

Matthew 28:6, Easter

I've been wanting to make a chalkboard printable forever
 and thought this was the perfect occasion.


This one has a white boarder around it - 


Easter blessings to you and your family!


post signature


Related Posts Plugin for WordPress, Blogger...