Monday, June 29, 2015

Easy Patriotic Centerpiece

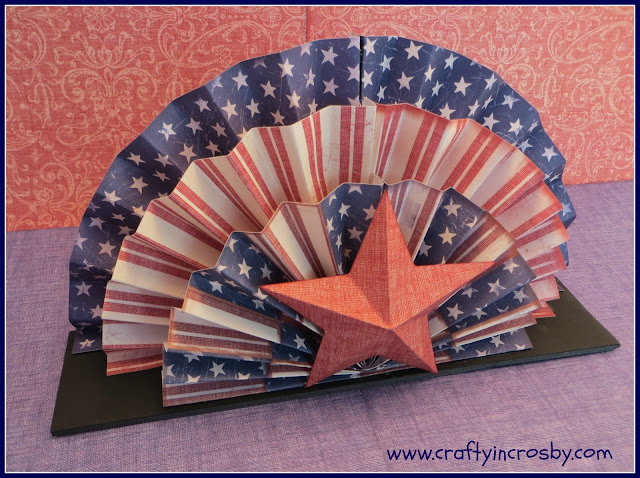
Some things are just so darn good that they have to be shared again! With that in mind, we wanted to share our Easy Patriotic Centerpiece from 2013 because 2 years later, it still has a place of honor on our mantel. It's so easy to make and it's not to late to make one of your own!

Here is our original post -

Last 4th of July I decorated the mantel on the 4th - nothing like waiting till the last minute! I got the idea for this centerpiece from a wooden one that I saw at Kohls.  The minute I saw it, I knew that I could make one from paper for just pennies.

This year I added a 3D star to the front of it and it is finally complete!

paper folding, paper crafts, July Fourth, Fourth of July, Patriotic

You will need 4-12x12 sheets of scrapbook paper, 1 piece of black foamcore board 12 1/2" x 3" and a hot glue gun.

I made one of these for Halloween last year and put together a step by step tutorial that I am going to share here - just pretend that this is red/white/blue paper and that the skeletons are stars!

Start folding on sheet of 12x12 scrapbook paper making folds about 3/4" each.  It is important that the first fold be backside of paper to backside.


Continue folding until the entire paper is folded. I didn't worry too much about the folds being exactly the same.  It really doesn't matter if one is a little larger than the others. Take a look at how much larger the middle fold is than the others, but once it is complete you won't be able to tell.


Continue until the entire piece is folded.


Fold the folded strip in half and staple together from the back.


Add a small strip of glue in between the two folds that you stapled.
This joins the two edges together and keeps the light from shining through.


I notched the top of the two joined papers so that it doesn't show too much from the front.


Then glue the bottom edge to the foam board. 

 I also added a small bit of glue between the first folds for added stability. 
This will keep the paper from folding back.


Cut 1" off the next sheet and repeat the folding process.  Make sure to start the fold on the 11" side so that you will end up with an 11" long fan fold.


Staple and glue, just like the first sheet, then glue the 2nd sheet onto the foam board.

Cut 2 1/4" off the 3rd sheet and fan fold and glue as described above.

It is important to close up the bottom of the two edges on the last sheet, since this will show from the front.  Drop hot glue in from the back and hold the front edges together with tweezers.


Glue that sheet down on to the foamcore and you are almost done.

The last step is to cut out a 2 1/2" star and score on the lines as indicated below - 


I have a scoring board, but you could easily score them with a credit card or craft stick. Once all of the scores are completed you will begin to fold the star.

Hold the star wrong side up and fold all of the scored lines on the points - fold with wrong sides together.  When all points are folded, flip the star over to the right side, then bring two points together as shown below - 


Then glue a bit of wadded up paper towel into the back of the star - like this - it makes it easier to glue the star onto the front of your centerpiece. 


That's all there is too it. I know it seems like a lot of steps but you can easily 
throw this together in less than 30 minutes.

You might have to adjust the length of the papers if you have a pattern you are trying to fit - like I did on the front paper, but other than that, this tutorial should help you easily put together your own centerpiece.


paper folding, paper crafts, July Fourth, Fourth of July, Patriotic


paper folding, paper crafts, July Fourth, Fourth of July, Patriotic


It looks so good on the mantel above my cocktail napkin banner and I bet I didn't spend more than $10 on all my mantel decorations!

Hope you all have a FANTASTIC FOURTH OF JULY!! God Bless America!


post signature

Saturday, June 20, 2015

DIY Elegant Gold Cloche

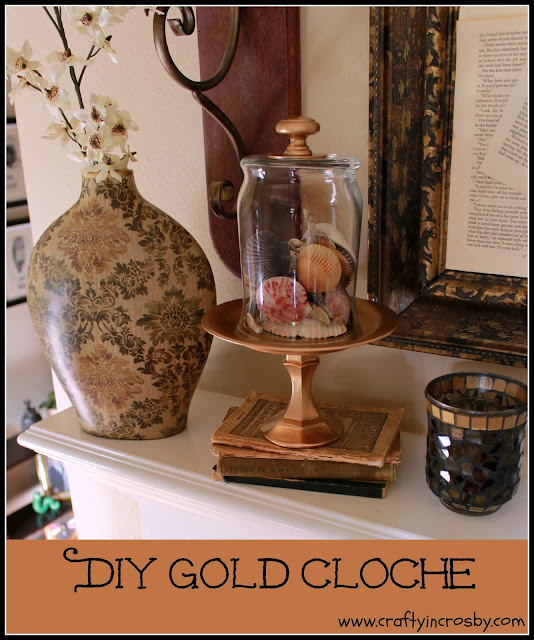
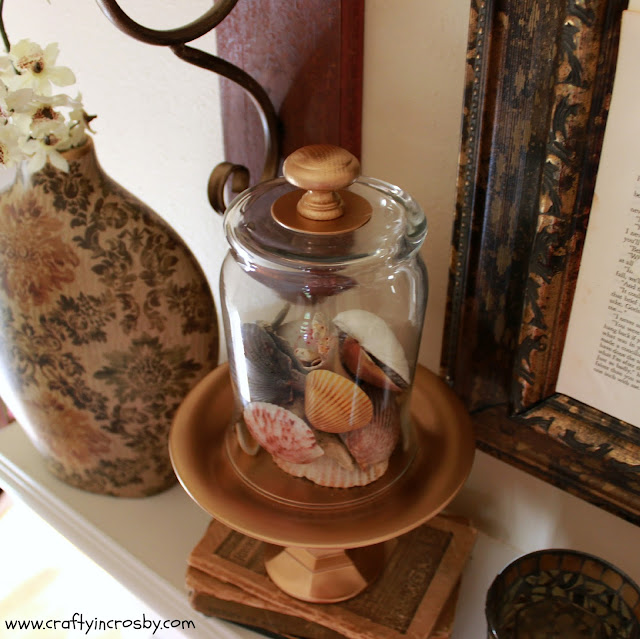
They say that everything comes back in style and I'm so thrilled that gold is back again. I've been slowly adding gold accents to our mantel and wanted a gold cloche to display seashells in.  We made a cloche with a black handle for Halloween 2013 and I thought it would look classy in gold.

What do you think?

Krylon Metallic, dollar store diy, candlestick diy, bell jar,

It was super easy to make and cost less than $10 - not including the paint and E6000 glue. Here's what you need - dollar store candlestick, glass vase (got this one at Walmart), small plate (Walmart), wood knob, large washer, E6000 glue and Krylon Gold Metallic Spray Paint.

Here are the pieces before they were glued and painted.


Making the cloche is easy to do but will take 2 days to allow everything to dry. Start by spray painting the washer and knob and let dry thoroughly. Once dry, glue the washer and knob to the top of the vase with E6000. Next glue the plate to the candlestick with E6000, let dry overnight and spray paint the candlestick and plate. I used  Krylon Metallic spray paint and it is amazing! I love the  beautiful gold finish that it gave to this project and would highly recommend it.


Krylon Metallic, dollar store diy, candlestick diy, bell jar,


Krylon Metallic, dollar store diy, candlestick diy, bell jar,


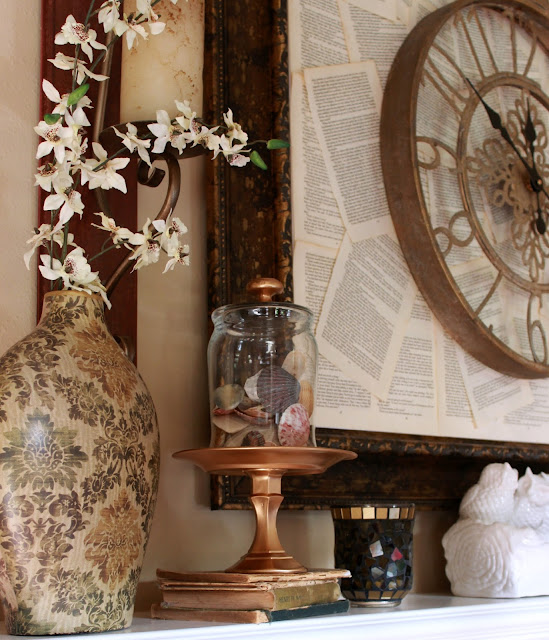
I love how well it ties in with the other gold accents on our mantel and it is such a simple, elegant and easy DIY.  I'm sure you could find a place for one in your home.

Wishing everyone a wonderful week! We are praying for a dry week down here in Texas!


post signature

Saturday, June 13, 2015

Don't Feed the Mermaids - Above Ground Pool Sign


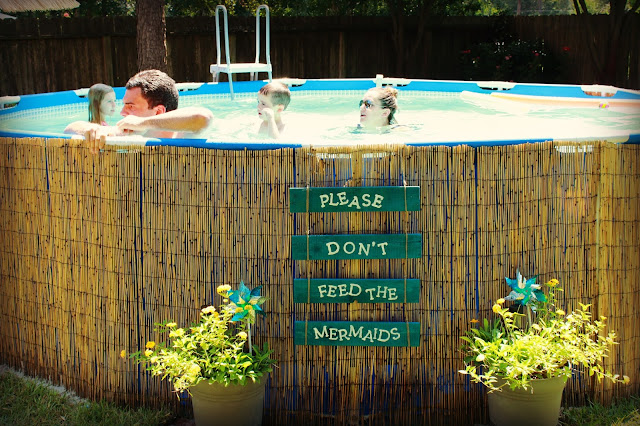
Well, summertime is officially started out in Crosby as we have put, what we loving call "The Redneck Swimming Hole", back up! This is the fourth year for our little Intex pool and I can certainly say that it has been the best $249 we ever spent for our backyard.

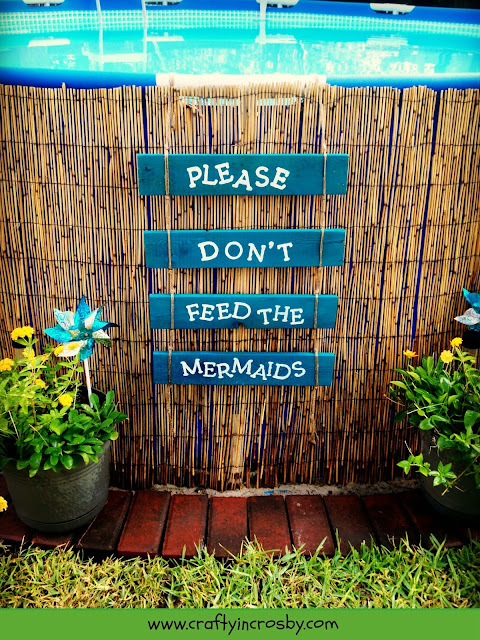
This year we replaced the reed fencing, as it was very faded and starting to come apart, and we also decided that we needed a new sign. So flipped the sign over and now we have a Mermaid Pond.

Intex, above ground pool, pallet sign, redneck swimming hole, mermaid pond


Here is what the sign looked like for the past two years - 


And here are a few of the mermaids and mermen enjoying the pool!


Intex, above ground pool, pallet sign, redneck swimming hole, mermaid pond


Intex, above ground pool, pallet sign, redneck swimming hole, mermaid pond

Hope everyone is enjoying the start of summer! Our Mermaids sure are having a blast in their pond! Maybe you should consider a Mermaid Pond for your backyard?

Because - doesn't every one dream of being a mermaid?


Wishing everyone a wonderful week!


post signature


Related Posts Plugin for WordPress, Blogger...